Creating VIM Cloud Projects
There are two types of VIM Cloud projects:
- Manual projects — require a VIM file created from a local Revit project or a local IFC file.
- ACC projects — require access to Revit projects on Autodesk Construction Cloud. Before you can create a project, you must configure VIM Cloud as a custom integration on ACC. When you create an ACC project, you will be prompted to sign in to your account.
Creating a Manual project
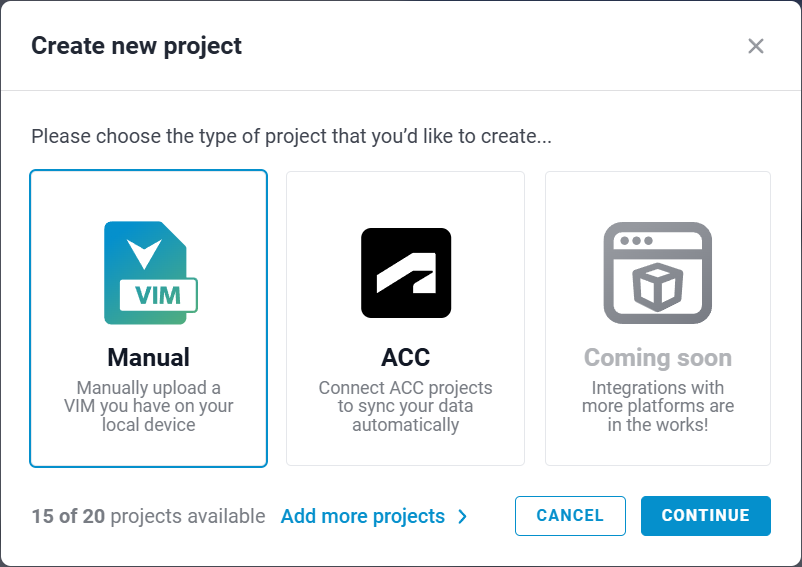
- Click either the New Project button at the top of the page or the "+" icon at the bottom of the projects list panel.
- In the Create new project dialog, choose the Manual project type and click Continue.
- In the Upload your VIM file dialog, select Click To Upload, select a VIM file, and click Open.
- When the upload is complete, type a Project name or accept the default file name.
- Click the Source type and select the source from which the VIM file was created (either Revit or IFC).
- Click Continue.
- In the Manage project reports dialog, enable one or more templates. Initially, only the sample Power BI template is available, but you can also upload your own custom templates. You can preview templates by clicking the View icon (see below).
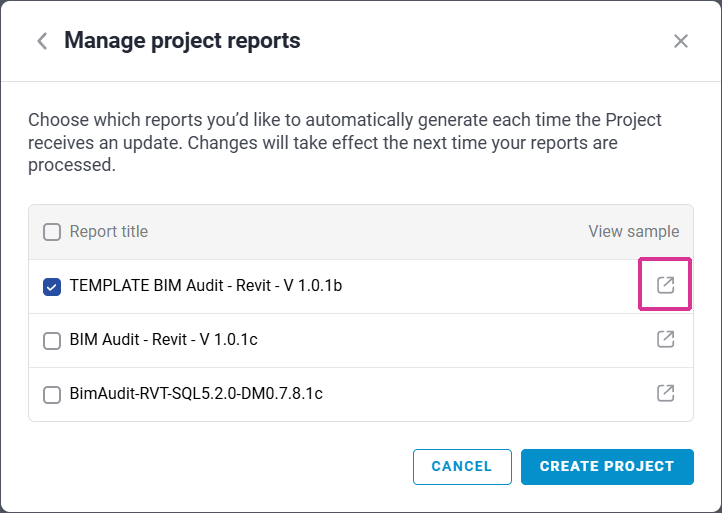 You can change the template selection at any time using the
 - Click Create Project. The project is created and reports are generated based on your template selection. When the report generation is complete, a message will appear in the Notification Center.
Creating an ACC project
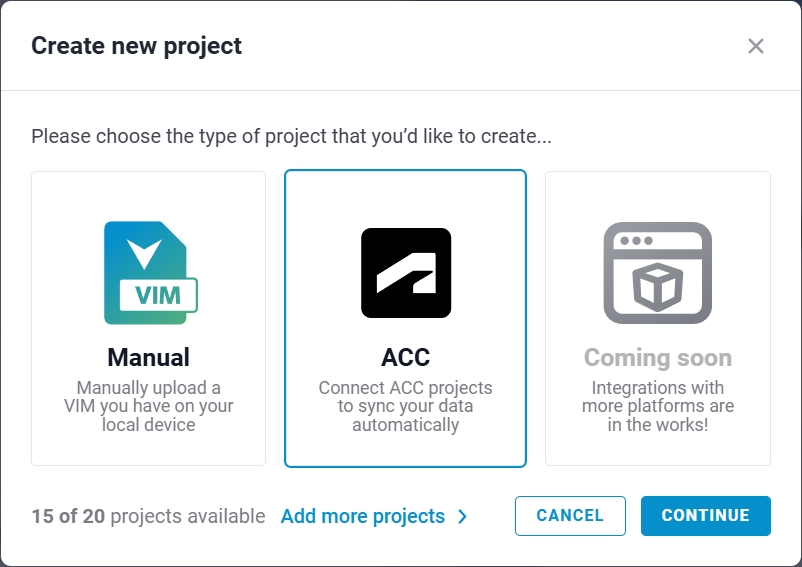
- Click either the New Project button at the top of the page or the "+" icon at the bottom of the projects list panel.
- In the Create new project dialog, choose the ACC project type and click Continue.
- In the Connect to ACC dialog, click Connect to ACC.
- On the ACC Sign In page, type your Email and click Next. On the Welcome page, type your Password and click Sign In. On the Authorize Application page, click Allow.
- In the VIM Cloud Connect to ACC dialog, click Continue.
- In the Select a project dialog, complete the following:
- Select your ACC organization from the drop-down list.
- Select a project (*.rvt) from the tree view.
- Click the 3D View drop down and select the view that you want to export to a VIM file.
- Type a Project name or accept the default file name.
- Click Continue.
- In the Manage project reports dialog, enable one or more templates. Initially, only the sample Power BI template is available, but you can also upload your own custom templates. You can preview templates by clicking the View icon under View Sample (see below).
- Click Create Project. The project is created and reports are generated based on your template selection. When the report generation is complete, a message will appear in the Notification Center.
Viewing VIM Cloud Reports
The sample Power BI templates provided with VIM Cloud are intended to illustrate the different types of data that can be extracted from VIM files. Depending on the VIM file you use to generate the report, some of the data types in the report template might not be available.
- To view a report, click the Open icon on the right side of the report name.

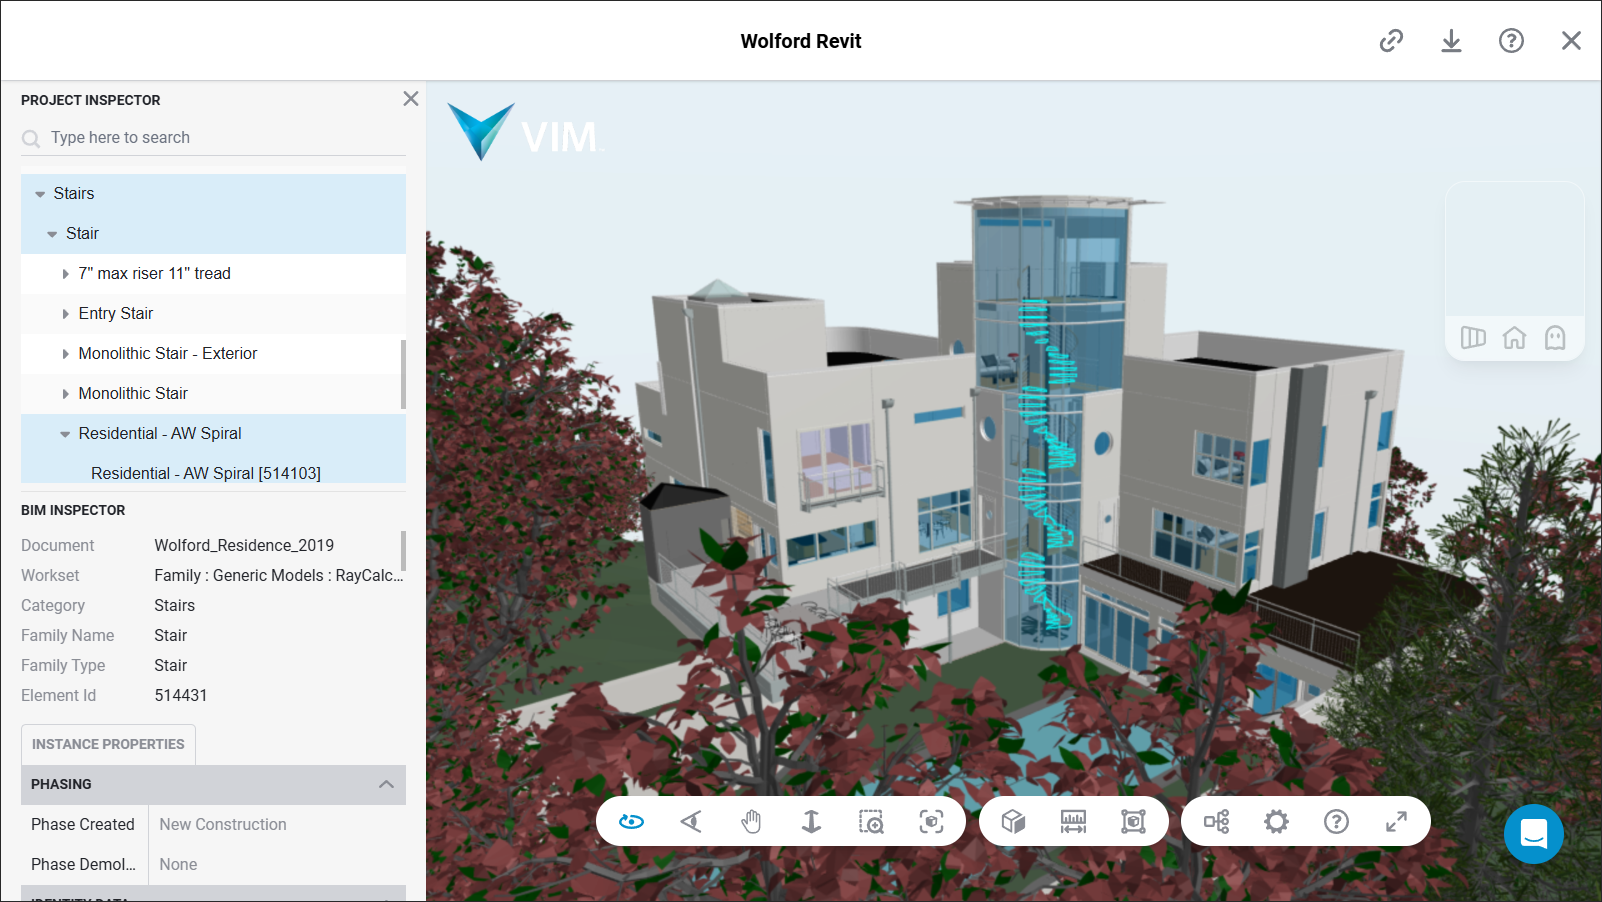
Viewing VIM Files
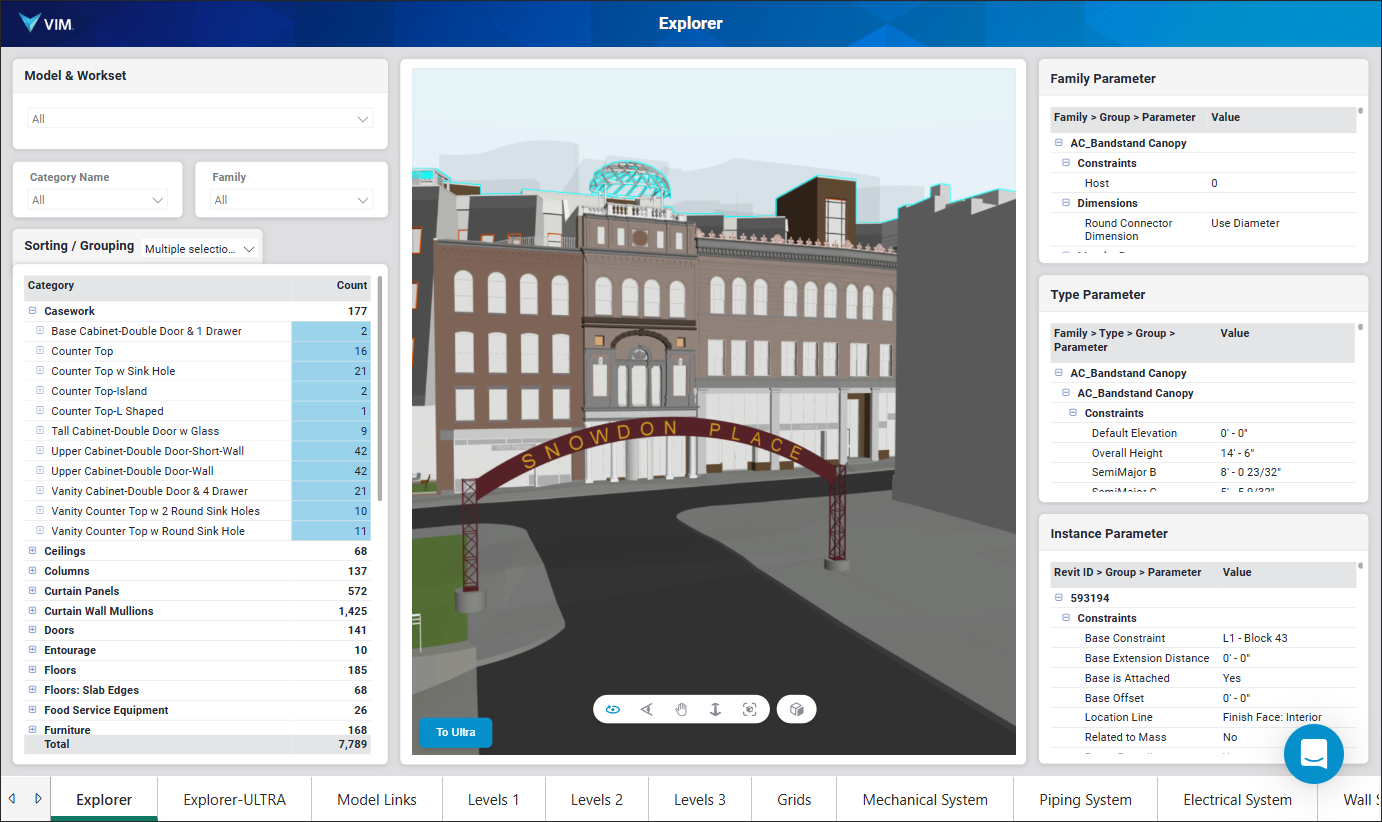
You can view the VIM files associated with your project in the WebGL Viewer. The WebGL Viewer enables you to view the rendered 3D project and explore the BIM data using the Project Inspector.
For information on navigating within the 3D view, see the WebGL Navigation and Controls Guide.
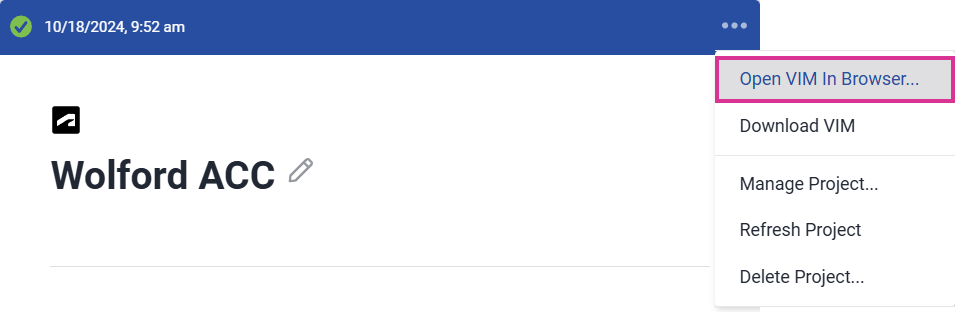
- Click the Project Options ("…") icon at the top right of the project panel and choose Open VIM in Browser.
- To view BIM data in the WebGL viewer:
- Double-click on a top-level item in the Project Inspector tree view to highlight all of the BIM data within the selected level.
- Expand an item in the tree view and double-click on a mid-level item to highlight all of the BIM data within the selected level.
- Expand an item in the tree view and double-click on an individual item to highlight only the selected item.
The BIM Inspector, located below the Project Inspector, displays additional information—including phasing, dimensions, and materials and finishes—for the item selected in the tree view.
Updating Project VIM Files
You can update the VIM file associated with any of your projects and generate new reports.
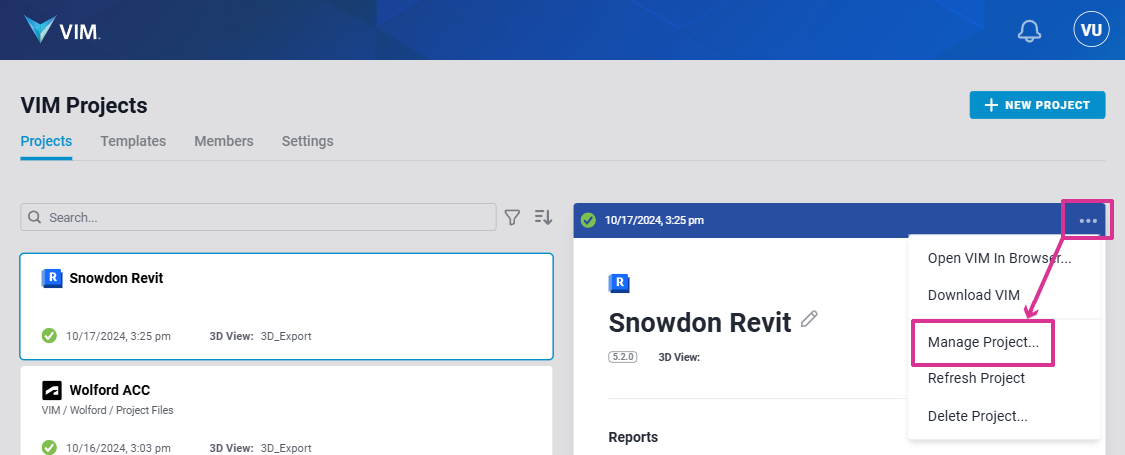
- Click the Project Options ("…") icon at the top right of the Project Panel and choose Manage Project.
- In the Manage Project dialog, do either of the following:
- For Manual projects, click Click To Upload, select the VIM file you want to upload, click Open, and then click Replace.
- For ACC projects, choose the ACC Organization, select the ACC Revit project you want to use, choose the 3D View Name, and then click Replace.

Related Topics
Getting Started with VIM Cloud
Working with Templates
Working with VIM Files