Creating a Merged VIM File Project
VIM Merge projects enable you to merge multiple VIM files from VIM Enterprise projects, VIM files, or a combination of both. Merged VIM files can be positioned based on the origin points of the VIM files or distributed on a grid plane.
If you want to use your merged project with Power BI, you will need to have an Azure Storage Account configured.
Creating a VIM Merge Project
-
In VIM Enterprise, on the Projects tab, click New Project.
-
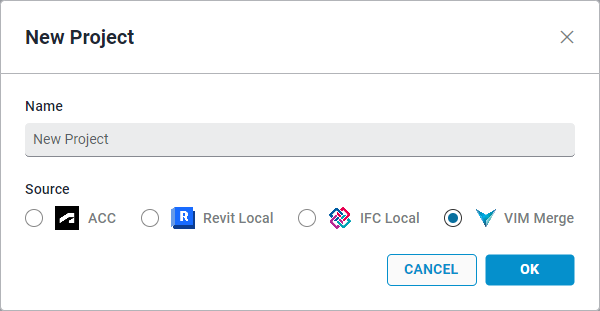
In the New Project dialog, type a Name for the project.
-
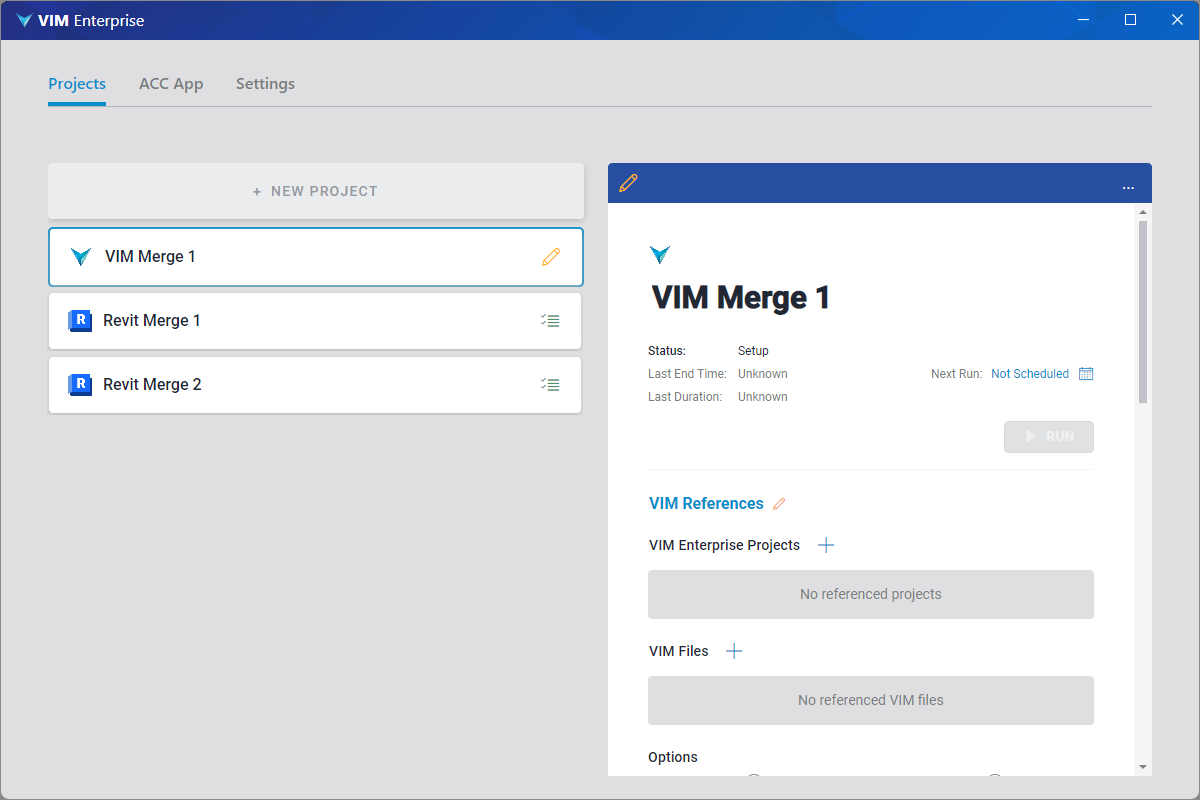
Under Source, select VIM Merge and click OK. The new project name is listed on the left panel and the project settings are displayed.
-
Do either of the following to select the VIM files you want to merge:
-
Click the add (+ icon) beside VIM Enterprise Projects, choose a project and click OK. You can add additional projects if desired.
noteAll VIM Enterprise projects must have been run previously and have a valid local VIM file.
-
Click the add (+ icon) beside VIM Files, choose a VIM file, and click Open. You can add additional VIM files if desired.
-
-
Choose a merge option:
-
Merge Origins — VIM files will be placed based on the origin point of each file. This is useful, for example, if you have different Revit projects that use the same origin.
-
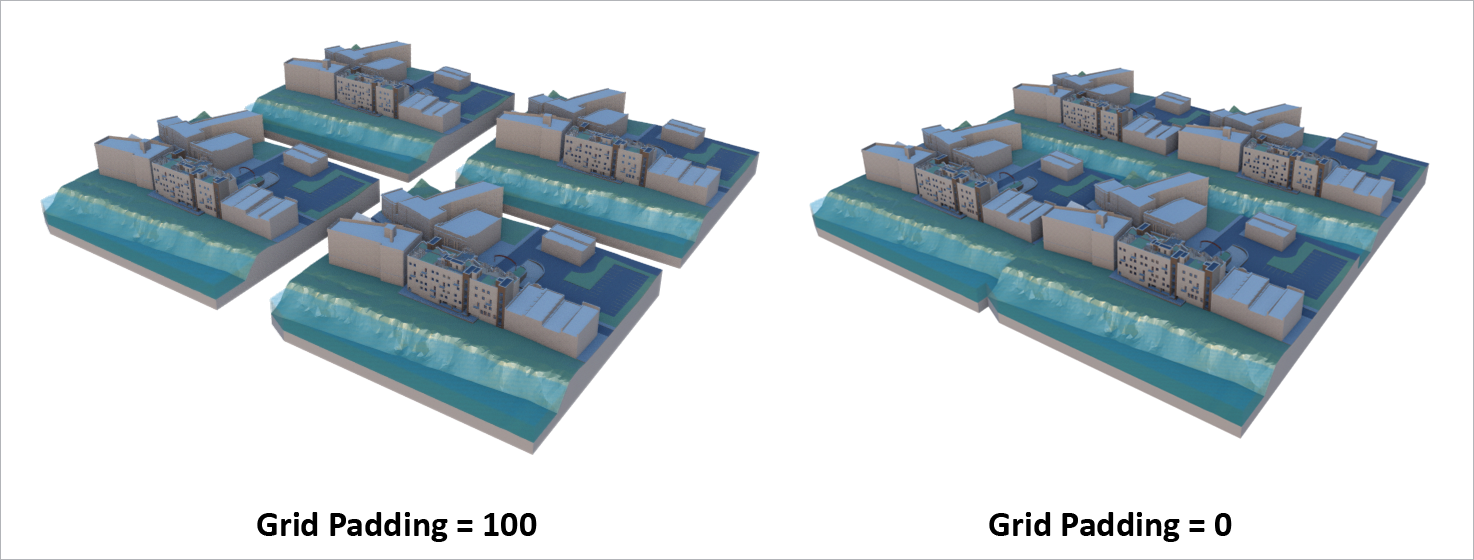
Merge as Grid — VIM files will be merged onto a grid. The grid cell size is based on the VIM file with the largest extents. The placement within the grid cell is based on the origin point. Use the Grid Padding option to increase or decrease the padding around each grid cell (see below).
-
-
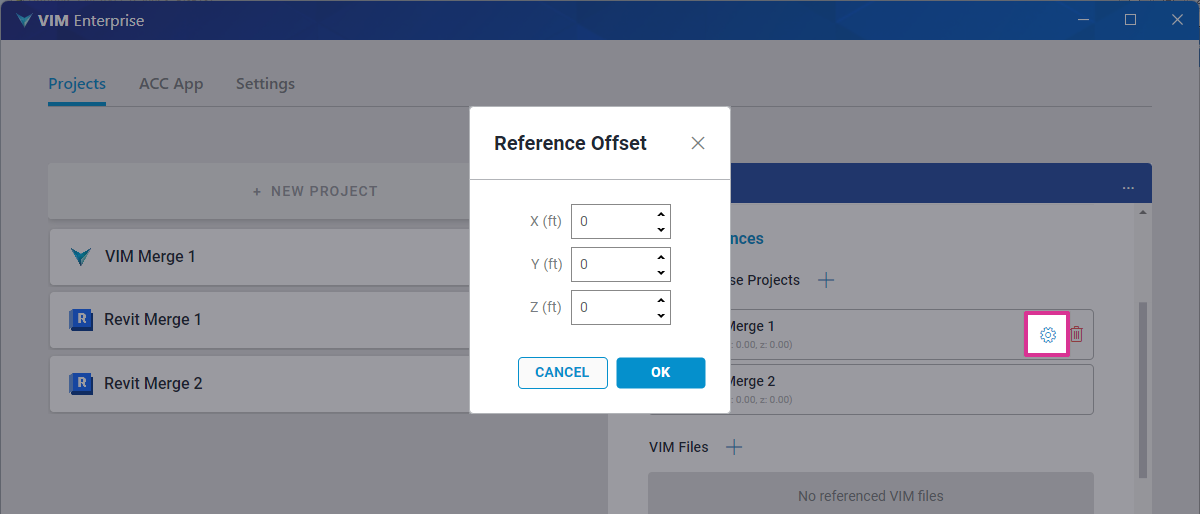
If you want to modify the location of a VIM file from its origin point, move your mouse over a project in the VIM References list and click the Reference Offset button (see below). In the Reference Offset dialog, define the X, Y, and Z offsets as required and click OK. The reference offset values are displayed under the Project name in the VIM References list.
-
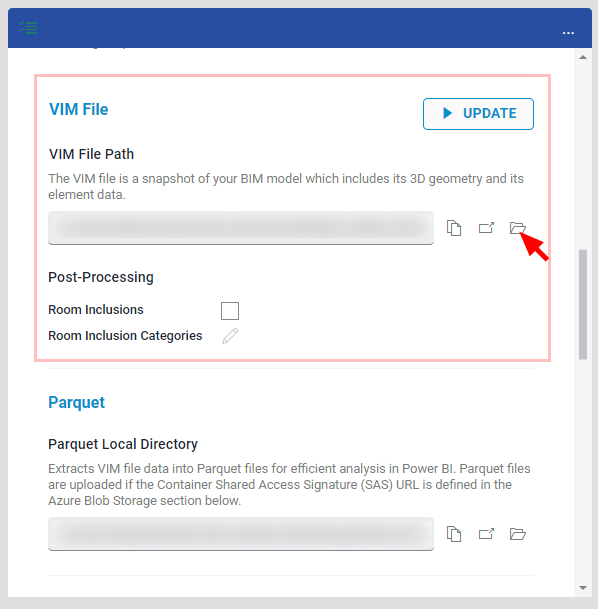
Click the folder icon beside the VIM File Path field, select a folder in which to store the exported VIM file, and click Save.
-
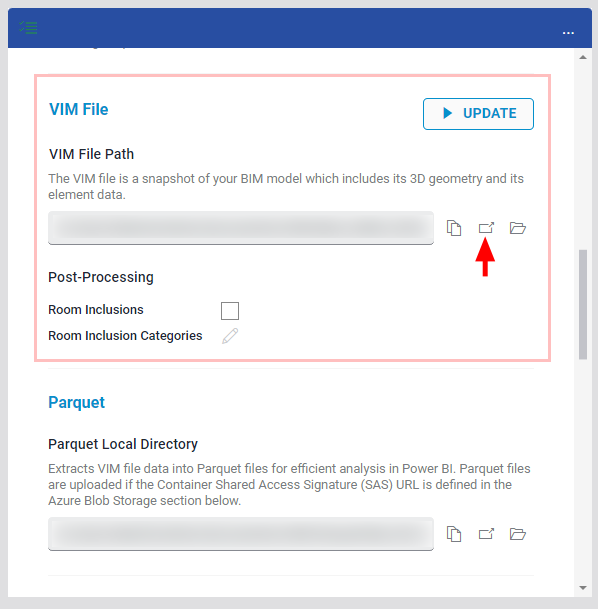
(Optional test) On the top of the project settings panel, click Run to verify the project source and VIM file destination settings. The IFC file is converted to a VIM file and saved in the specified folder. You can inspect the exported file in VIM Flex by clicking the Open icon beside the VIM File Path field (see below).
-
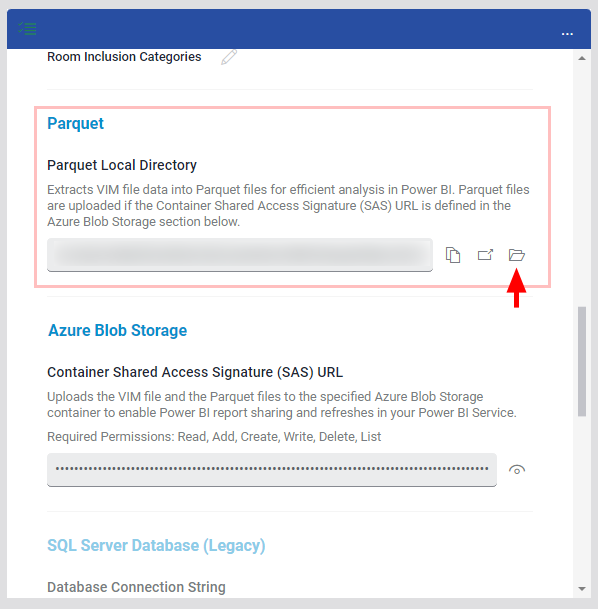
Scroll down to the Parquet section. Click on the folder icon to select a folder in which to store the processed Parquet files then click Save.
-
Obtain the Azure Blob SAS URL required for the next step and copy it to the Windows clipboard. The Blob SAS URL is generated on the Microsoft Azure Container page. See Creating Shared Access Tokens.
noteIf your IT department created the Azure Storage Account, you will need to contact them to obtain the Blob SAS URL
-
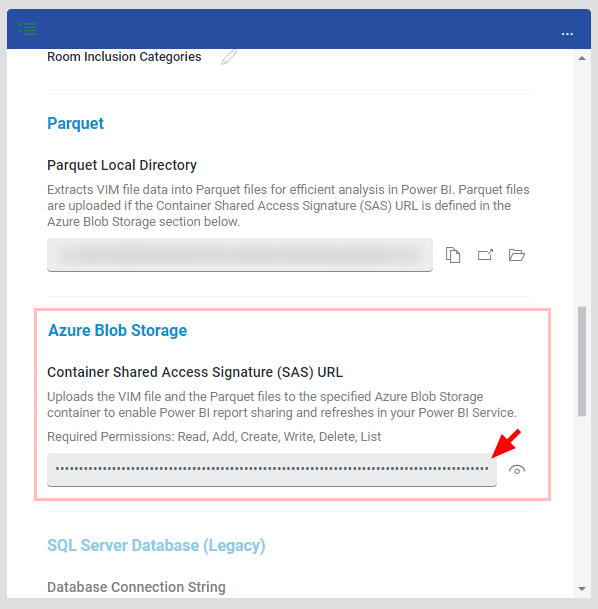
On the project settings panel, right-click in the Container Shared Access Signature (SAS) URL field and choose Paste. The same SAS URL can be used for all of your VIM projects. Important: this SAS URL has an expiry date and must be refreshed based on your chosen expiry date.
-
Click Save.
-
Scroll to the top of the project settings panel and click Run.
When complete, the project Status will say "Done!", and a green checkmark will be displayed beside the project in the projects list.
The fields in the Power BI section of the project settings are populated automatically from the Azure Blob Storage settings.