Configuring VIM Enterprise Locally
If you do not have access to a Microsoft Azure Storage account, VIM Enterprise can also be run locally using the VIM Ultra renderer to stream the 3D rendered content from a local VIM file to your Power BI reports. A full VIM Enterprise installation using Azure is recommended for larger organizations and allows reports to be shared easily within the organization, while the local configuration is suited for smaller organizations and product trials.
Prerequisites
To use VIM Enterprise locally , you will need:
- A recent graphics card with the latest display drivers installed on your computer (see Minimum Requirements)
- VIM Desktop and VIM Enterprise installed on your computer (download links)
- Power BI Desktop installed on your computer
- SQL Server or SQL Server Express installed on your computer (or available on a local network).
Setup
- In SQL Server or SQL Server Express, create a database for your new project.
- In VIM Enterprise, on the Projects tab, create a new project and configure the source settings.
- Set the Database Connection String to reference the database you created in step 1.
Note: if you are using a local SQL Server Express database, your connection string should look like this (replace the{database_name}with the name of your database)Data Source=localhost\SQLEXPRESS;Initial Catalog={database_name};Integrated Security=SSPI;TrustServerCertificate=True; - Leave the Container Shared Access Signature (SAS) URL field empty. When you run the project, the process to upload the VIM file to Azure Blob Storage will be skipped.
- Scroll to the top of the project settings panel and click Run. When complete, the project Status will say "Done!", and a green checkmark will be displayed beside the project in the projects list.
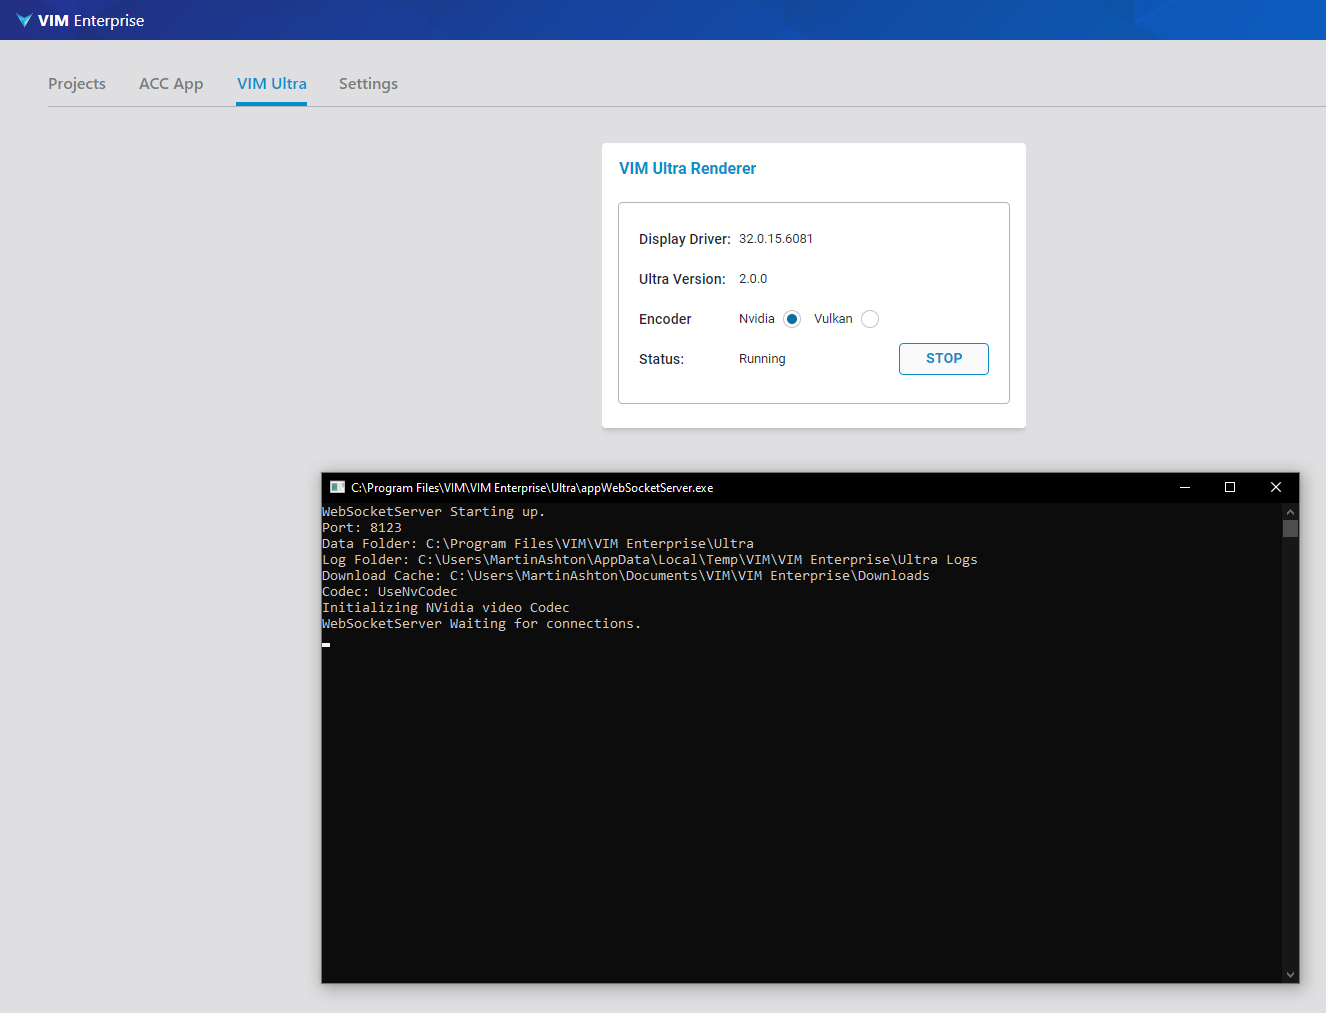
- In VIM Enterprise, on the VIM Ultra tab, choose an Encoder and click Start. The Status of the rendering server changes to Running and a terminal window opens, indicating that the VIM Ultra renderer is running and waiting for a connection.

- Open Power BI Desktop and sign in to your Office 365 account.
- Open the sample Power BI report template provided in the VIM Enterprise installer package (BimAudit-RVT-SQLx.x.x-Ux.x.x-DMx.x.x.pbix).
- Ensure Power BI Desktop is configured for improved performance.
- Follow these steps to update the VIM Power BI report template with the data from your database.
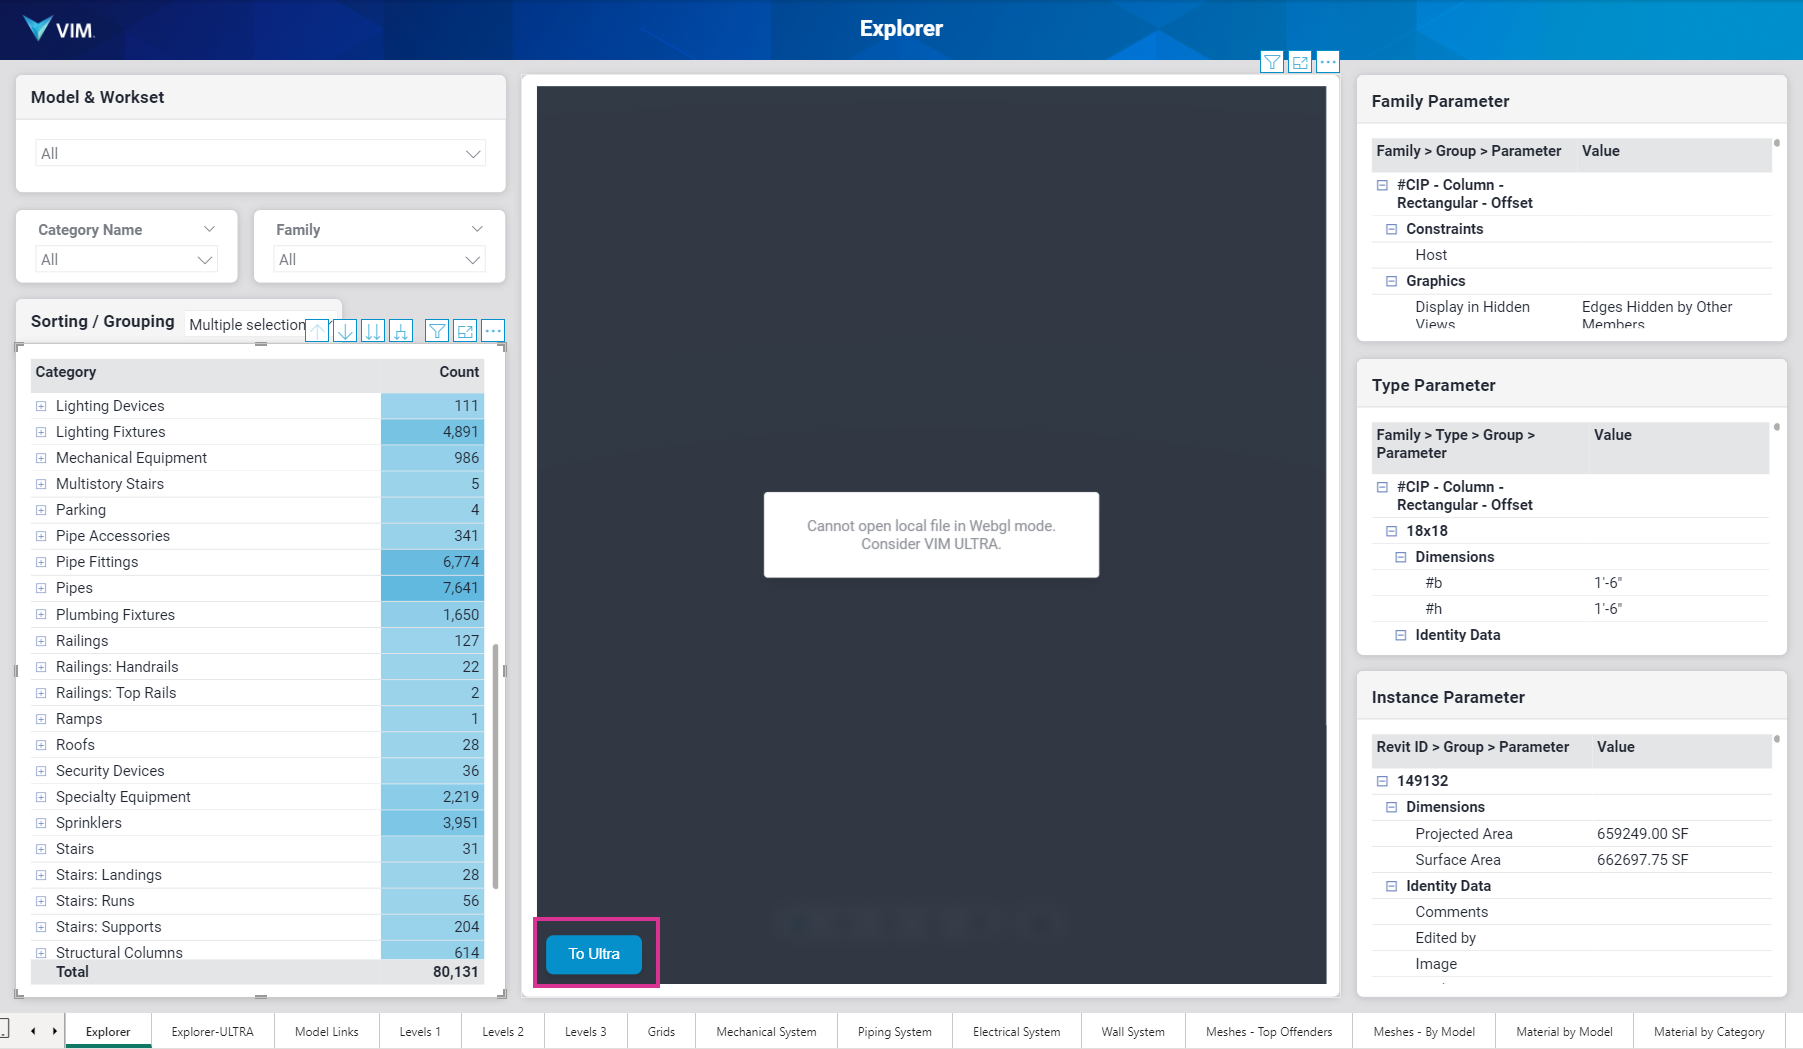
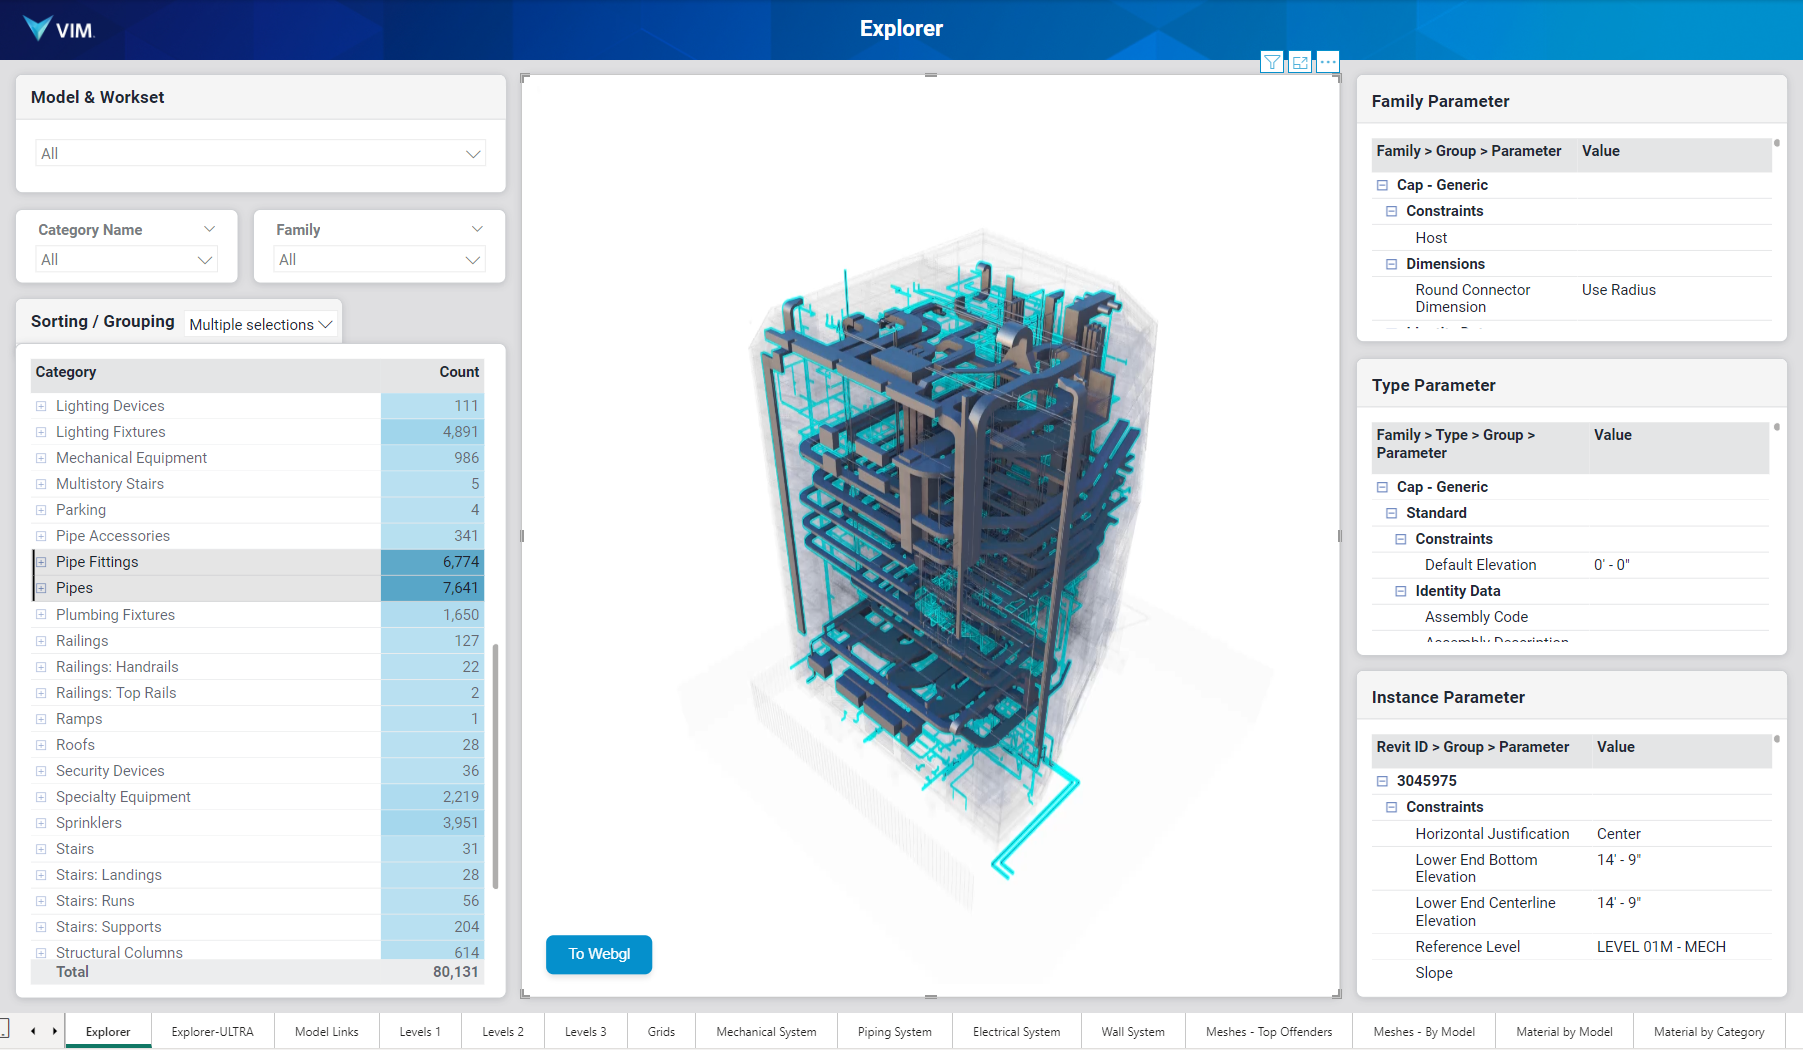
- On the Explorer report tab, click the To Ultra button (see below), then click on an item in the category tree to refresh the custom visual.
 After refreshing, the VIM custom visual will switch to VIM Ultra mode. All other VIM custom visuals in the report will also switch to this mode. In VIM Ultra mode, the 3D rendered content is streamed from the local machine into the VIM Power BI custom visual.
 You can stop and restart the VIM Ultra rendering process in the VIM Ultra tab in VIM Enterprise (see step 6 above)
VIM Ultra Custom Visual Settings
The VIM custom visual will first attempt to download the VIM file specified in the Vim[Url] field. If this field is empty, it will then load the VIM file from the Vim[FilePath] field. This fallback mechanism only works when the VIM custom visual is set to the VIM Ultra mode.
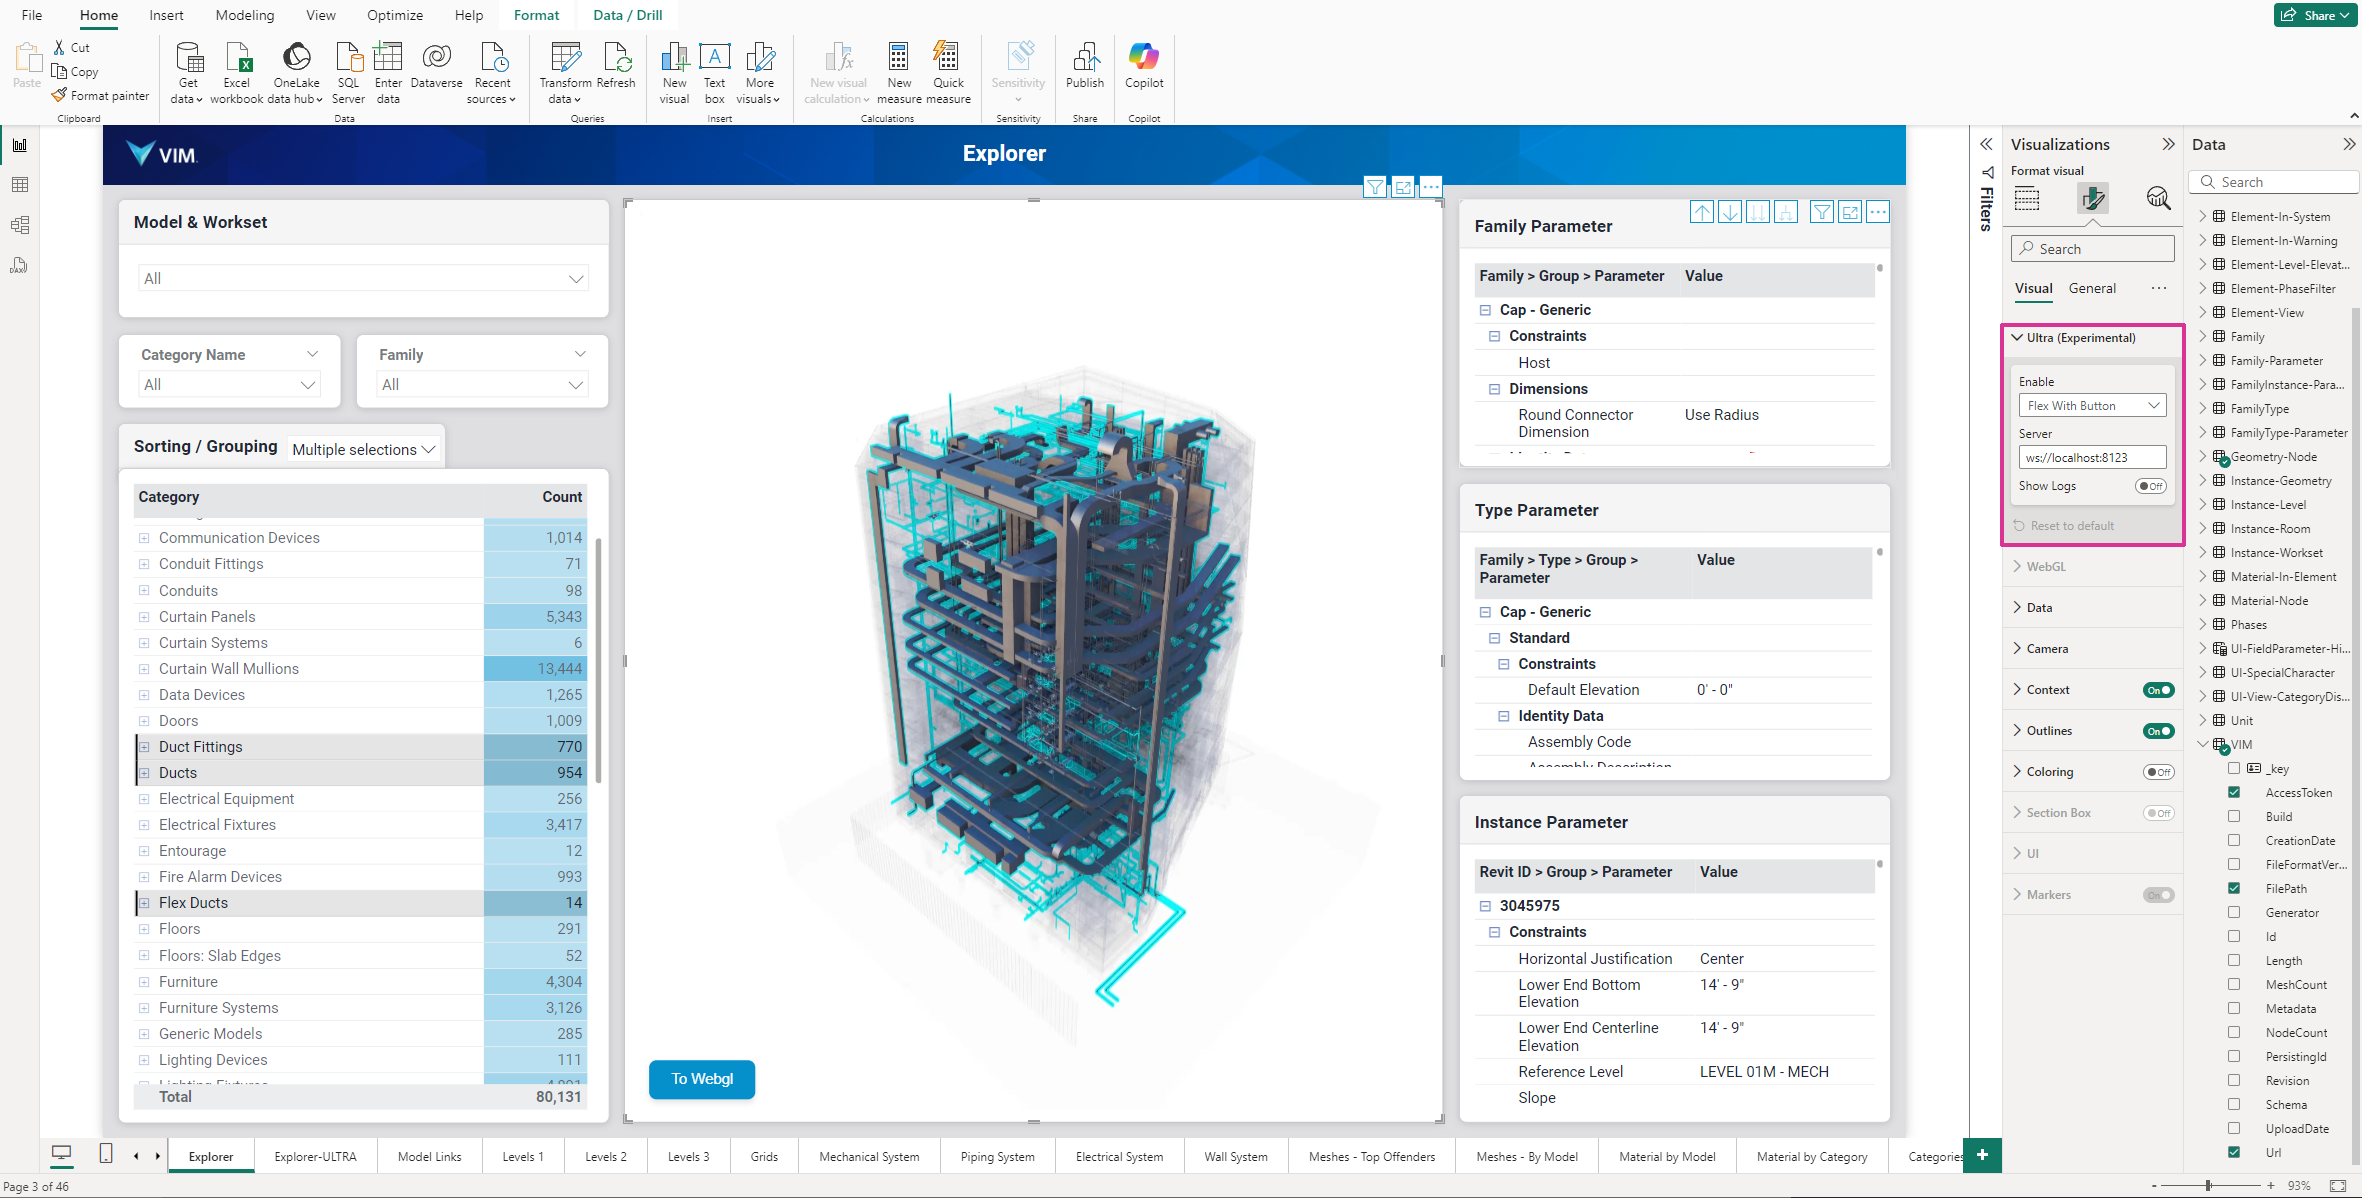
The default mode for the VIM custom visual (VIM WebGL or VIM Ultra) can be configured on the Format visual panel (see below).

Ultra (Experimental) Settings
Enable option
- Flex With Button — the VIM custom visual will show either the To Ultra or To WebGL button. This button controls the mode of all VIM custom visuals set to Flex With Button or Flex Without Button within the report. This avoids having to tediously swap modes every time you change report tabs.
- Flex Without Button — the VIM custom visual will not show the To Ultra or To WebGL button, but will flexibly adapt to the mode set in other VIM custom visuals set to the Flex With Button within the report. This avoids having to tediously swap modes every time you change report tabs.
- Always — the VIM custom visual will always be in VIM Ultra mode.
- Never — the VIM custom visual will always be in VIM WebGL mode.
Server option
This field defines the websocket address of the running VIM Ultra process. The default value of ws://localhost:8123 is configured to connect to the local VIM Ultra process running on the local machine (localhost) on port 8123.
Show Logs option
This toggle button controls whether the Logs button is displayed in the VIM custom visual. Clicking the Logs button within a Power BI custom visual provides debugging information.