Installing VIM Enterprise
If you have previous versions of VIM Enterprise installed, it will be updated to the current version when you run the latest installers.
Step 1: Download and Extract the VIM Enterprise Installer Package
-
Download the latest VIM Enterprise Installer Package from the Releases page.
-
Once you have downloaded the VIM Enterprise Installer Package, right-click to extract its contents into a folder of your choosing.
-
The following files are included with the VIM Enterprise Installer Package:
- VIM Enterprise.pdf — information to get you started with VIM Enterprise.
- VIM-Enterprise-Setup-vx.x.xx.exe — installer for VIM Enterprise.
- VIM-Setup-vx.x.xx.exe — installer for VIM Flex and the exporter plugins.
- BimAudit-RVT-*.pbix — sample Power BI report template used to analyze your Revit or Navisworks models. The following is a breakdown of the naming scheme:
- PQx.x.x - The parquet schema version compatible with this Power BI report template.
- Ux.x.x - The minimum version of VIM Ultra compatible with this Power BI report template (if using VIM Ultra).
- DMx.x.x - The Power BI data model version.
- vimviewer.x.x.x.pbiviz - the VIM Power BI Custom Visual, allowing you to visualize your 3D model in your report. This file is provided in case you need to manually update previously customized reports.
-
You will also require the VIM Enterprise license string which is provided to you by a customer service representative.
Step 2: Install VIM Flex
Double-click on the VIM-Setup-v*.exe installer file to install it.
Step 3: Install VIM Enterprise
Double-click on the VIM-Enterprise-Setup-v*.exe installer file to install it.
Step 4: Configure the VIM Enterprise License
Your VIM license string will have been emailed to you by a customer service representative.
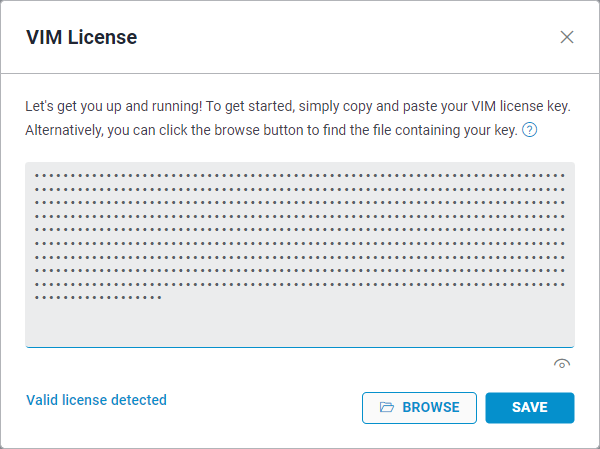
- Open VIM Enterprise. The VIM License dialog is automatically displayed the first time you open VIM Enterprise.
- Browse to the .license file which has been downloaded and onto your filesystem. You can also paste your license string into the licence field.
- Click Save.
Step 5: Install Power BI Desktop
Use the following link to Install Power BI Desktop.
Step 6: Configure an Azure Blob Storage Account
Coordinate with your IT team to configure an Azure Blob Storage Account.
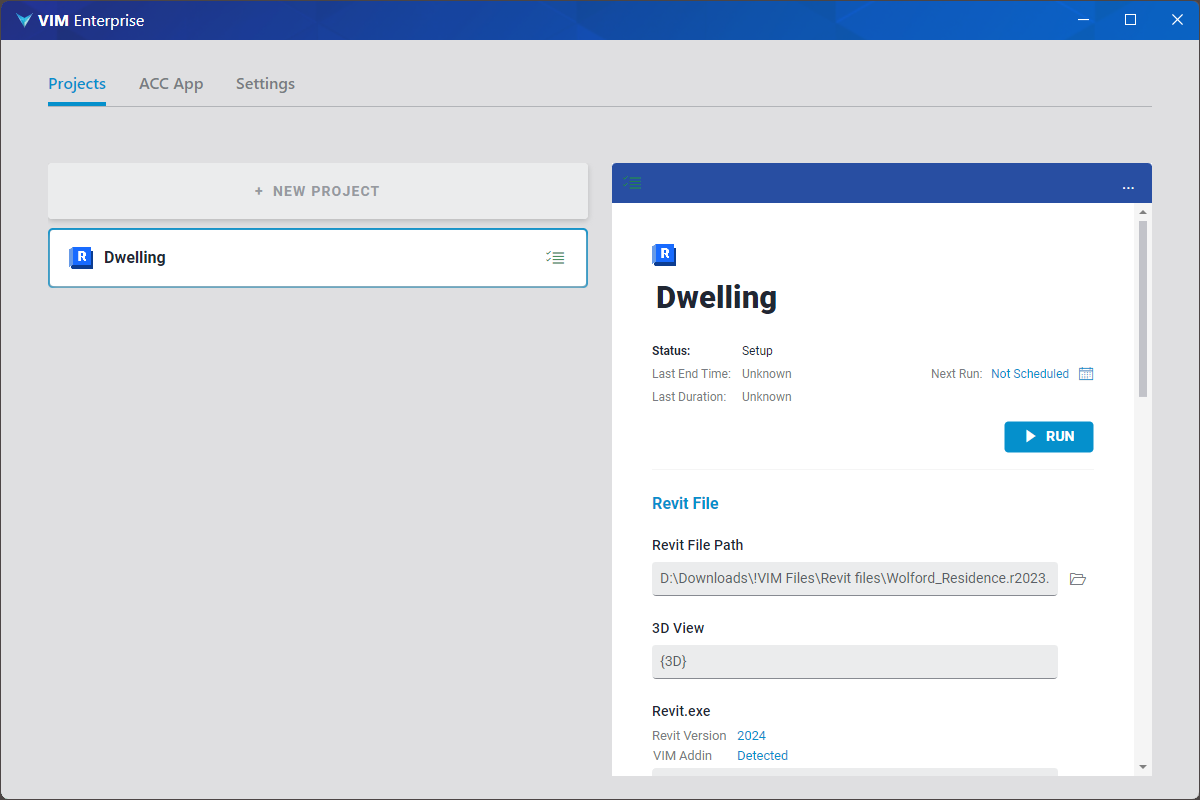
Step 7: Create your Projects
Follow the steps below to create your projects.
- Creating a Project using ACC
- Creating a Project using Revit
- Creating a Project using IFC
- Creating a Project using Navisworks
Global Settings
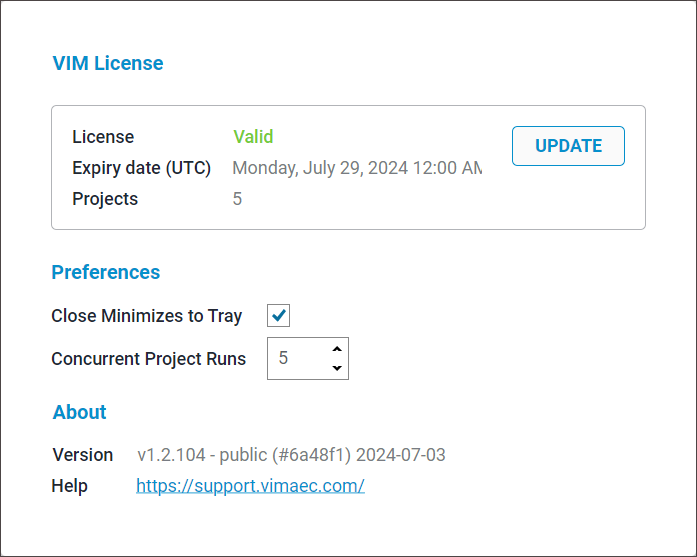
Global Settings for VIM Enterprise are located on the Settings tab.
- VIM License — To update an expired license, click Update, paste the new license string, and then click Save. The license expiry date and number of projects are updated on the Settings page.
- Close Minimizes to Tray — Enable this setting if you have scheduled project runs. When you close VIM Enterprise it is minimized to the Windows System Tray and remains running in the background. NOTE: If this option is enabled, before uninstalling VIM Enterprise you will need to right-click on the VIM Enterprise icon minimized on the Windows Taskbar and choose Exit.
- Concurrent Project Runs — Limits the number of concurrent project runs to avoid potential computer resource issues.